Time to read: 7 min read
Entry Level 3D Printer
# The Monoprice Select Mini V2
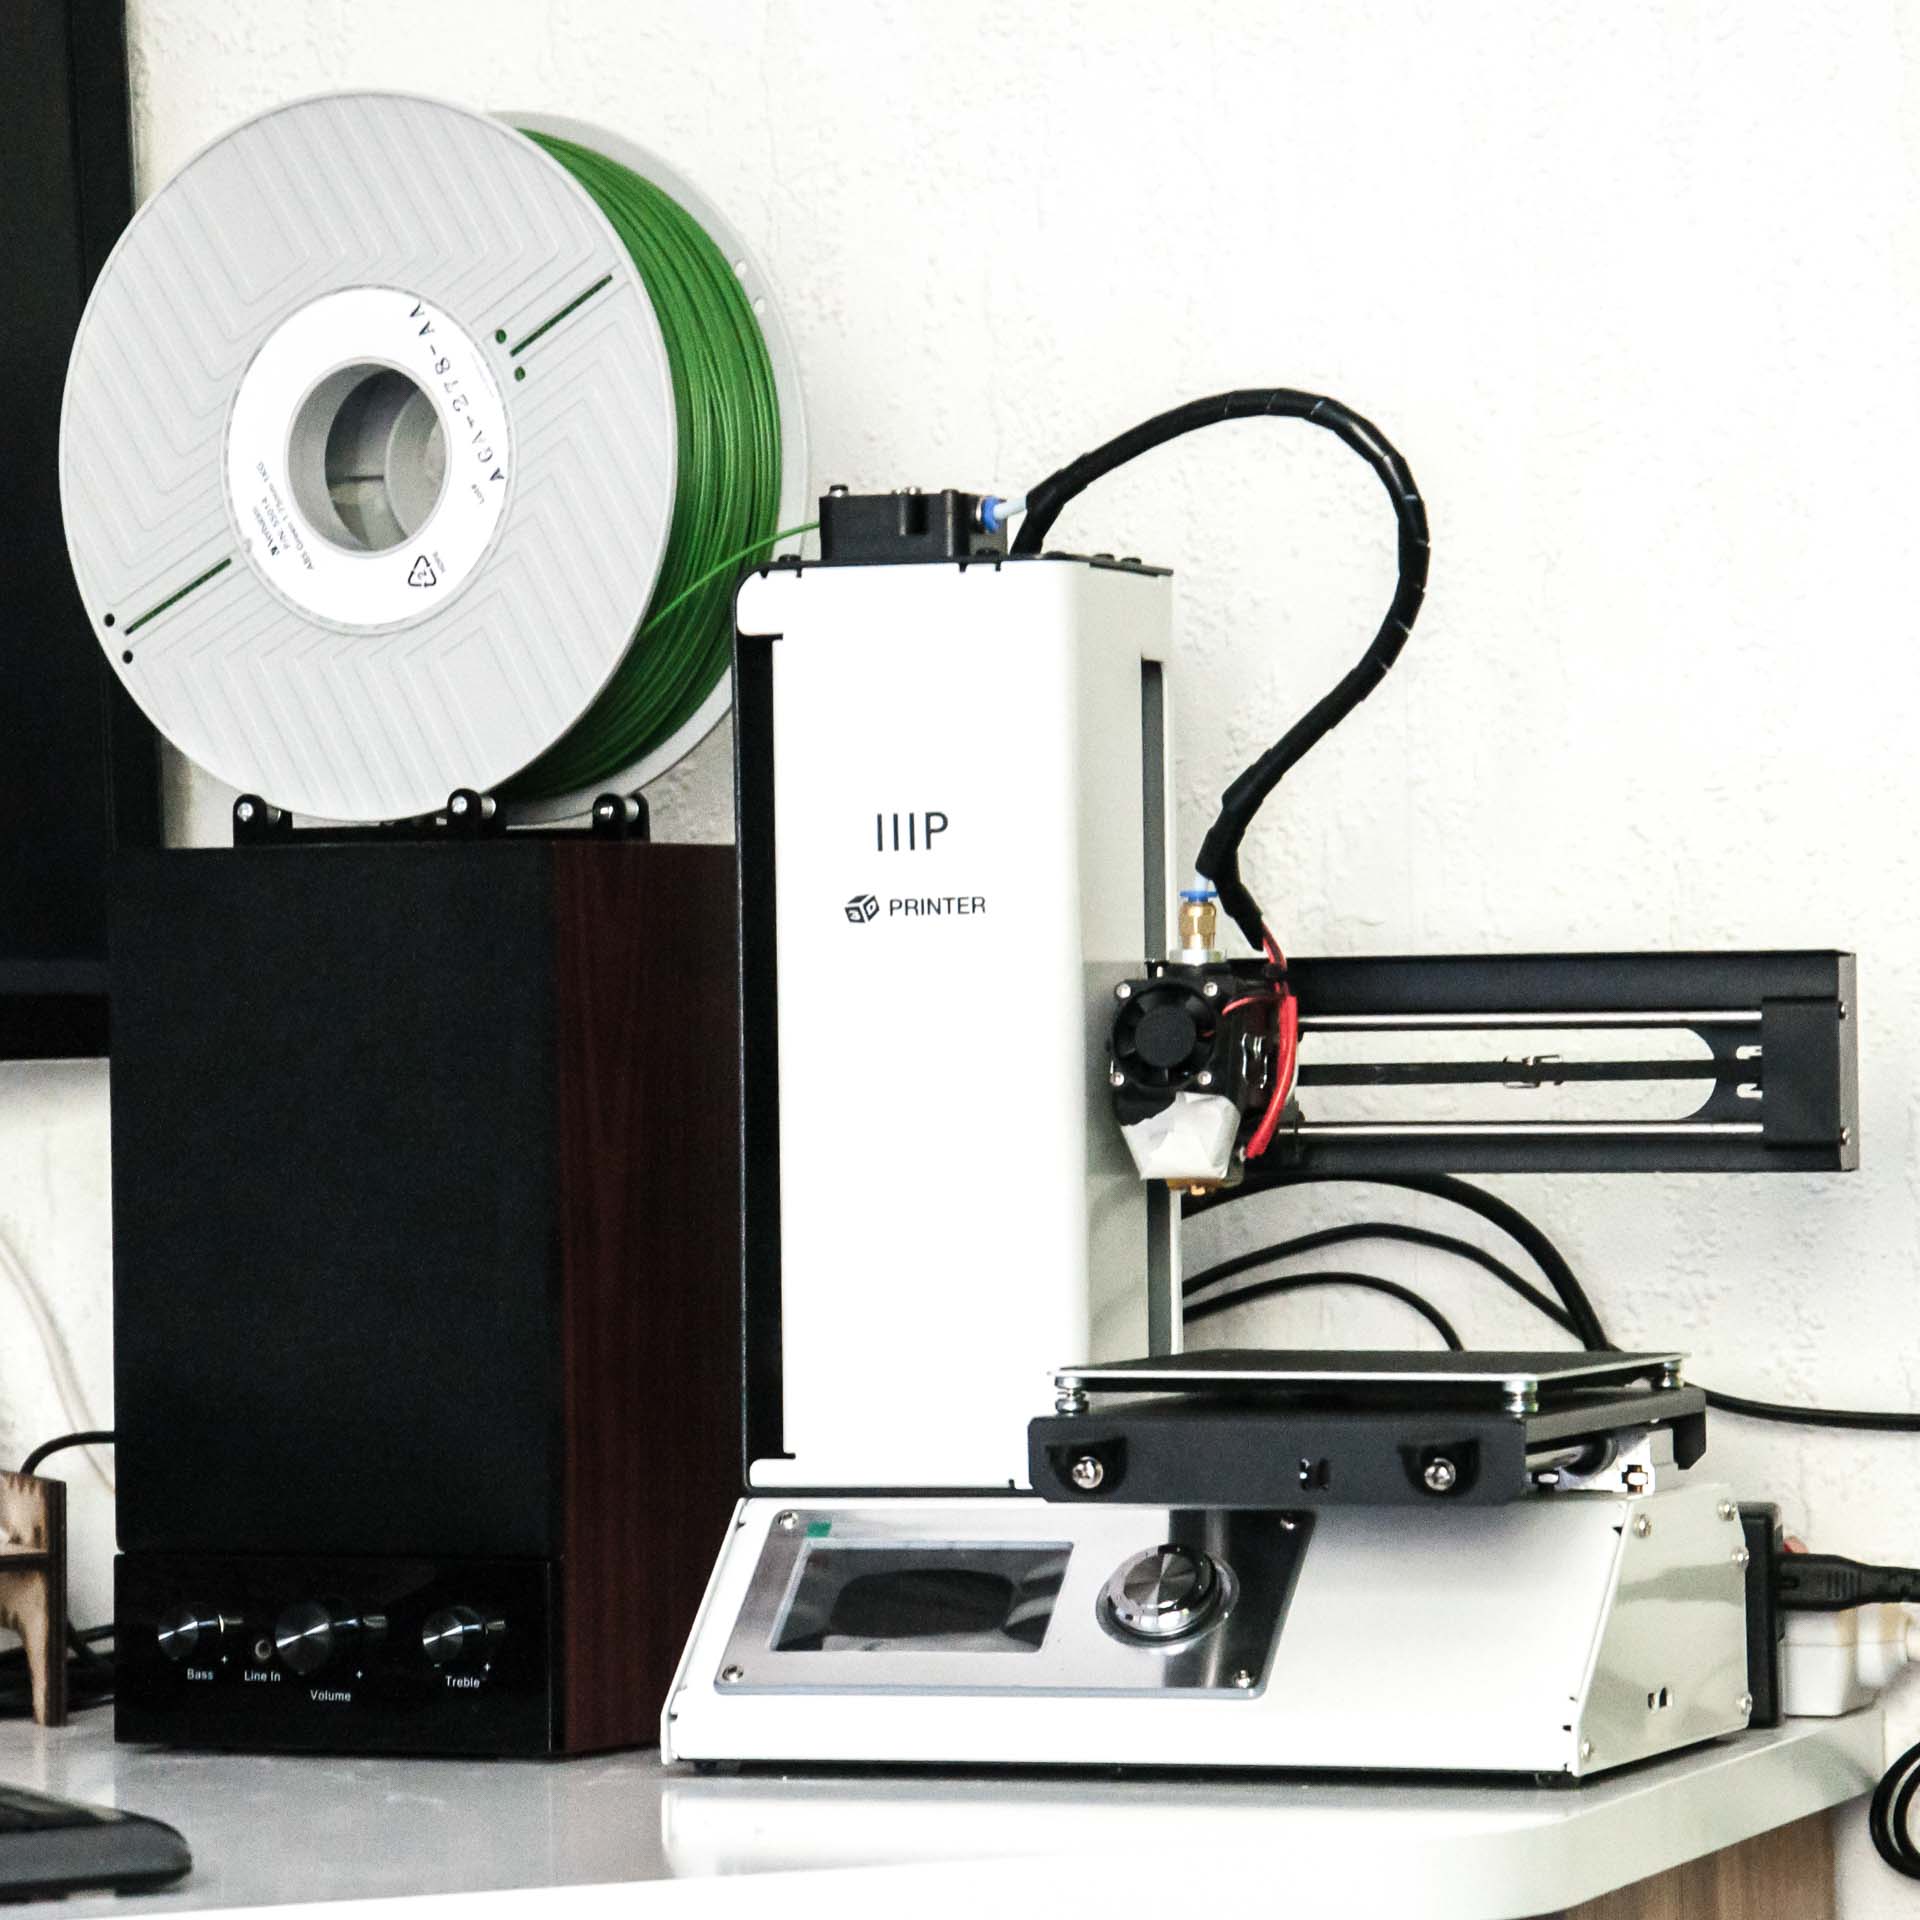
Recently I did the 3D printer course at my local maker-space, where they have a bunch of Ultimakers. While I had great success at managing laser cuts in the allotted time, I felt uneasy about the possibility of letting a failed print run for 20 hours. Not knowing much about the topic, I also feared it would be hard for me to experiment with all the variables, like bed temperature, extrusion temperature, etc. And finally, I couldn't justify spending close to $1000 for a 3D printer while I can just use those at the maker-space for free. So when I came across the MPSMV2 on Conrad, I basically impulse-bought it. I don't usually buy stuff on the day that I discover them, but after seeing that the MonoPrice model has a heated bed and is compatible with CURA (the slicer program for the Ultimaker printers), I was convinced it's good enough for me to play with it. The subreddit, by the way, gives a pretty accurate impression of what failures are to be expected, and has many examples of how people solved them. €180 in my view is cheap enough to warrant non-perfect printing quality for the sake of experimentation. If ever in my life I plan to use or buy a serious printer, I'll know the ins and outs, because I'll have sat considerable hours working with and staring at a maker-grade one.
# First prints with PLA
I've had impressively few failed prints with PLA early on. The standard settings in Cura are great, and the only thing I've changed was the printhead temperature, which I lowered to 200°C to improve on stringing.
With the size of the machine, it fits on my tiny desk, but I ended up putting it in a "BILLY" shelf from Ikea. For this I drilled a hole on the side where the filament goes through, and I printed some spool holders that let me "hang" the spool on top of the shelf. Naturally, the bed-size is small as well. I did anticipate some hardship in making designs that fit inside the working area of 120x120x120mm. But I hadn't truly considered the fact that even a standard 6.25U spacebar would barely fit inside it (6.25*19.05=119.0625mm) until it stood on my desk.
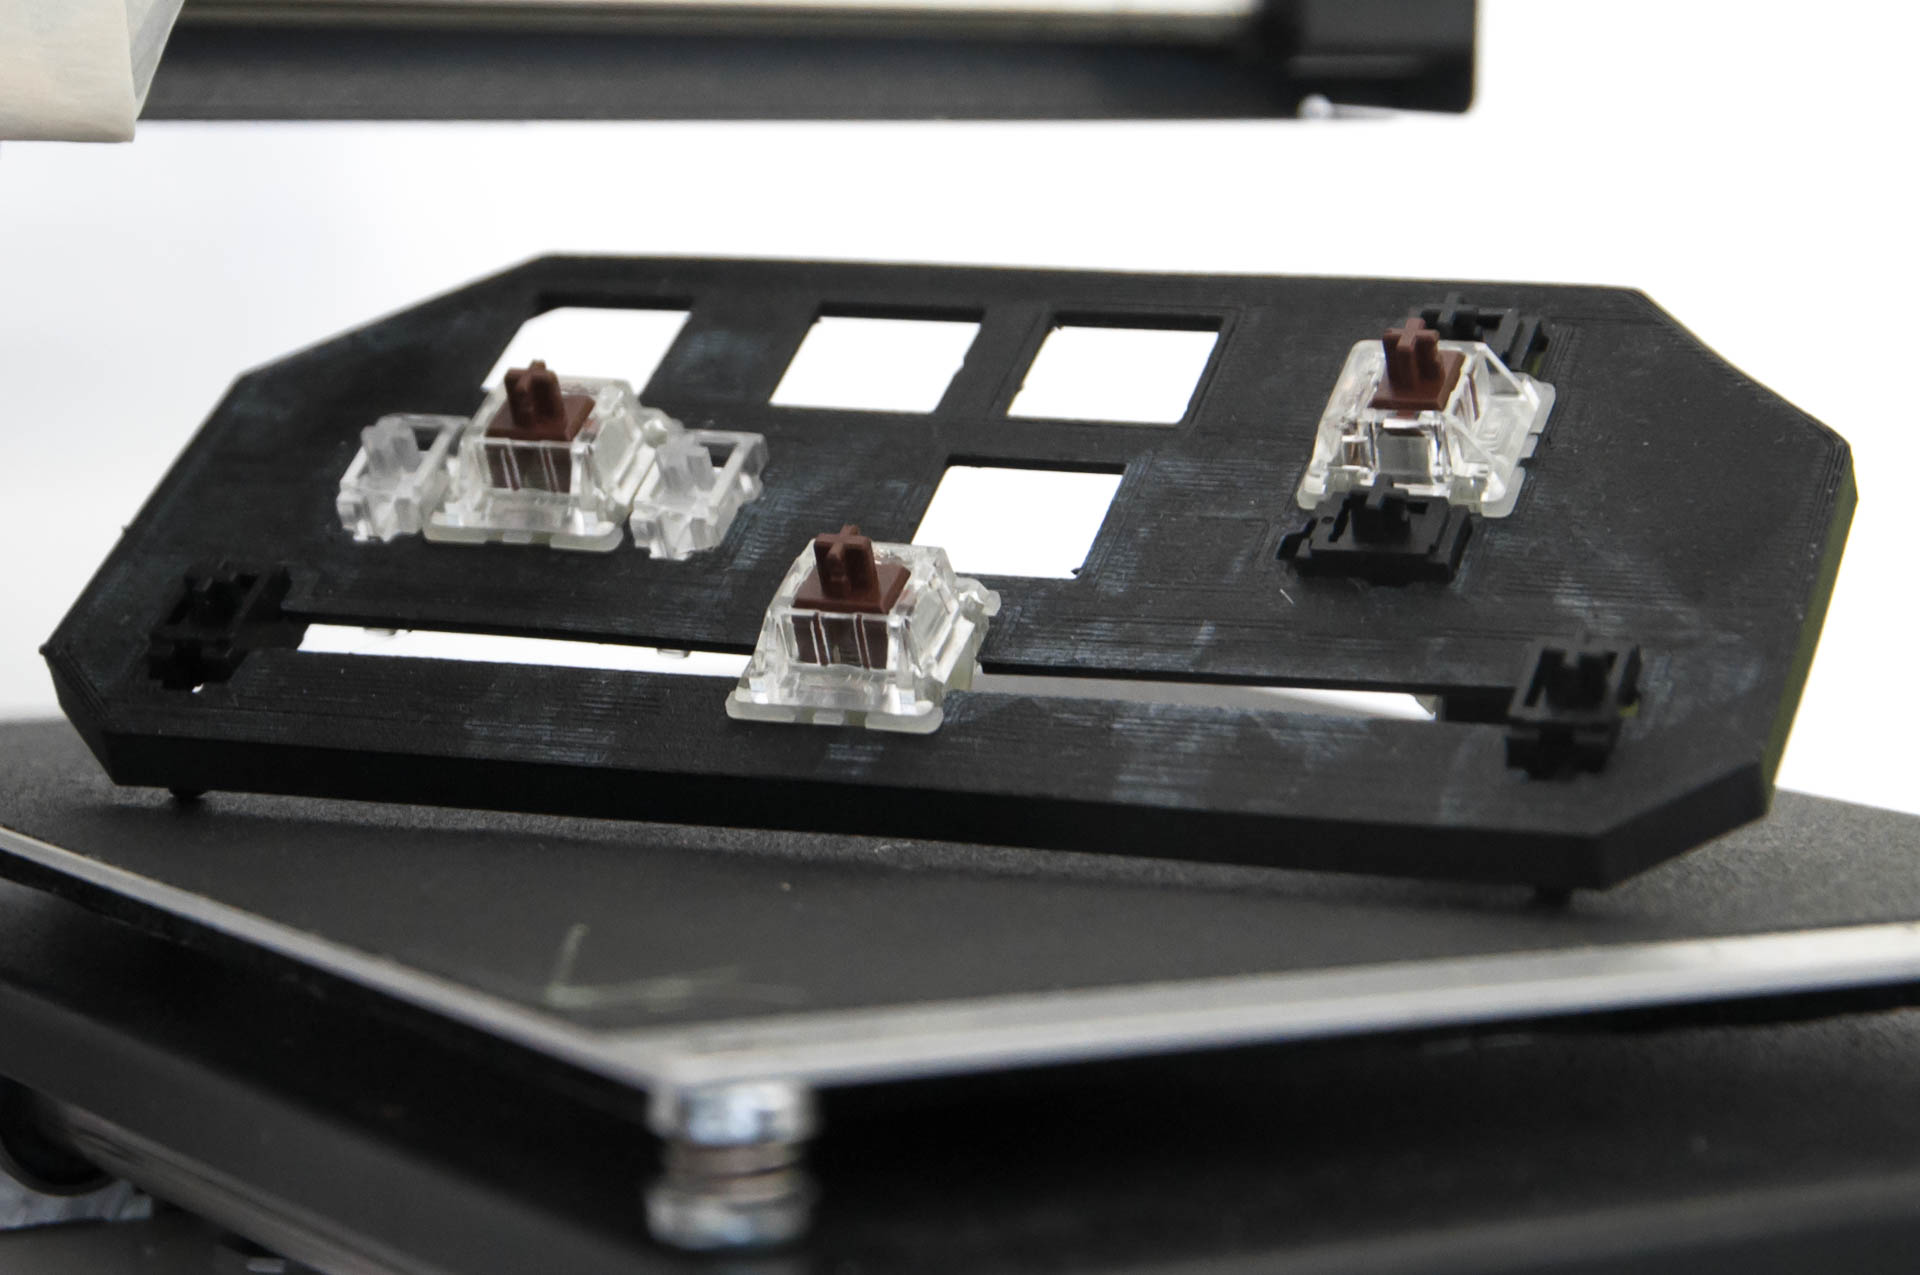
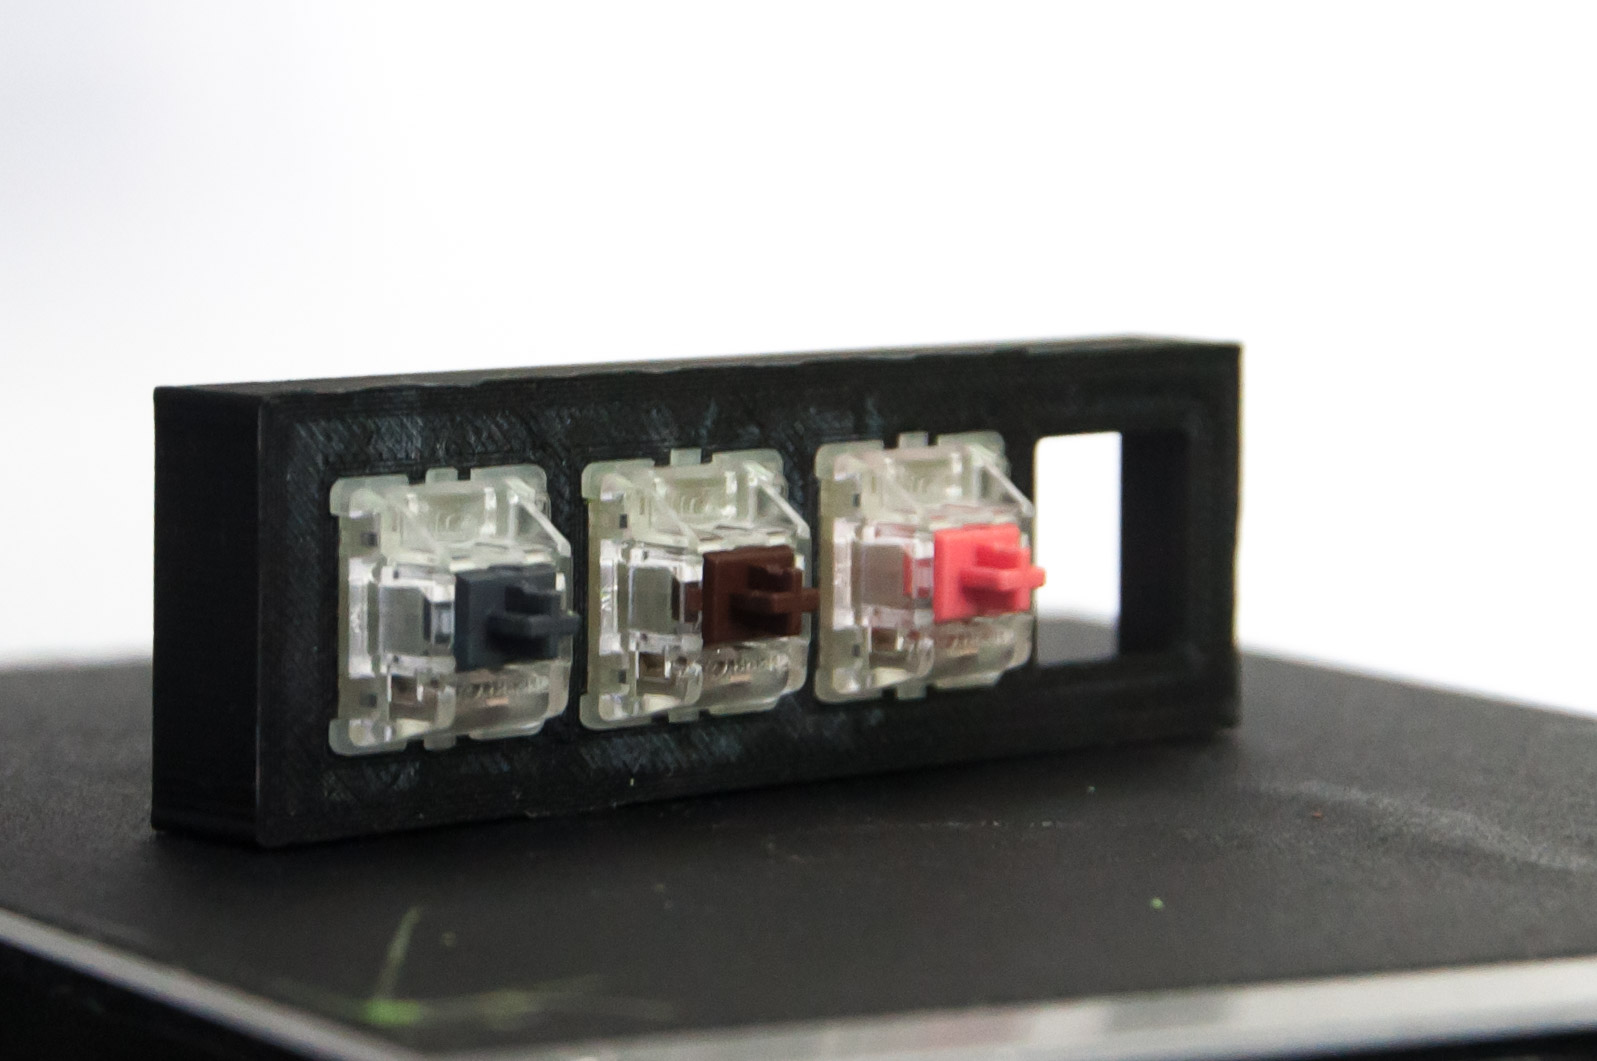
Because of the size, when I designed a test plate to see Cherry Stabilizers in action, I ended up having to cut corners (sorry). Rotating it by 45 degrees would make it fit, and now I've got a stupid layout that allows me to see how different width keys will work out. I'm especially worried about the ISO Enter key that I couldn't find any documentation for. Eventually I figured out where to place the switch underneath it, but I still want to see it in real life before ordering my own plate and PCB.
The printer is too loud to let me comfortably sleep in the same room while it's doing its work, so currently I'm not printing through the night. But it's not too loud to annoy me when I work nearby. Although, I'll admit I'm biased; I enjoy watching the thing, and this way I can abort failed prints early on.
I was impressed at first by how nuanced little details it can print. I did however notice two complications:
Firstly, the initial layer always gets squished a bit, which I tend to fix with a box cutter, when exact measurements matter. Later I learned it's called Elephant Foot, and the Prusa Slicer addresses it on default. Fortunately for me, I don't care about it enough to look up whether Cura has a similar feature or not.
Secondly, I had to re-drill some holes in post, as they came out too small. And since PLA has a relatively low melting temperature, it isn't well suited for machining. So I decided to print a test geometry to see whether inaccuracies are "reliable", because then I could account for it in the design.
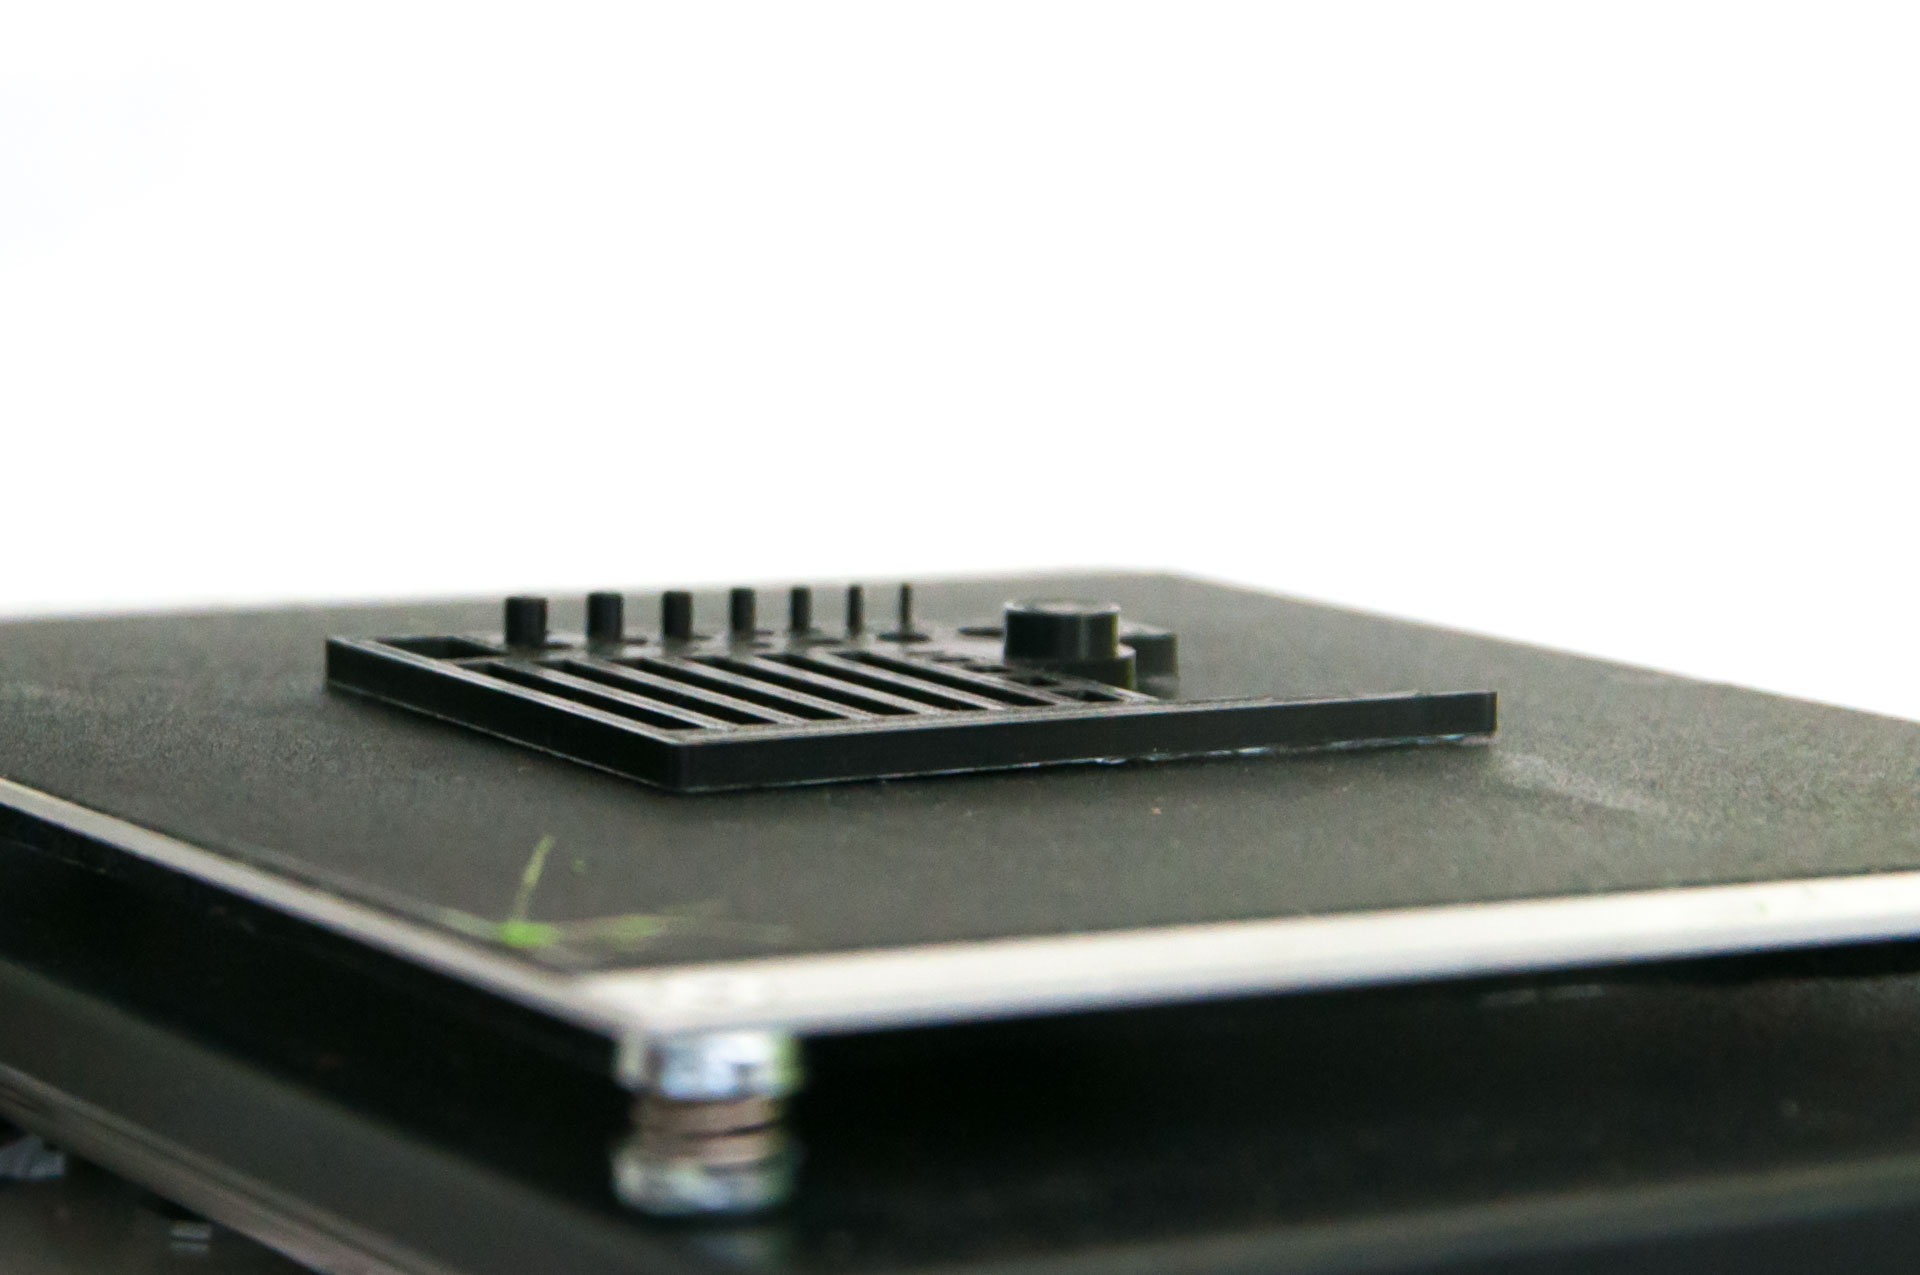
Sure enough, all the holes are about 0.2mm smaller, and all the outer dimensions are about 0.1mm thicker. That means if I want an M5 screw to tightly grip the material, a 5mm drill hole will work. And if I need it to loosely fit inside it, the drill hole better be 5.2-5.4mm in diameter.
# Some hardship with ABS
Not long after the first successes I decided I have to buy a few more spools with other colors, because this is fun. So I did some not-enough amount of research on the differences in filament material, and decided to buy ABS filament this time.
I knew ABS needs higher nozzle and bed temperature, and that it's subject to warping, but I hadn't really anticipated how annoying warping would be. To be honest, I was more worried about the supposedly 80-90°C bed temperatures that were recommended everywhere, despite the default Cura setting being 75°C.
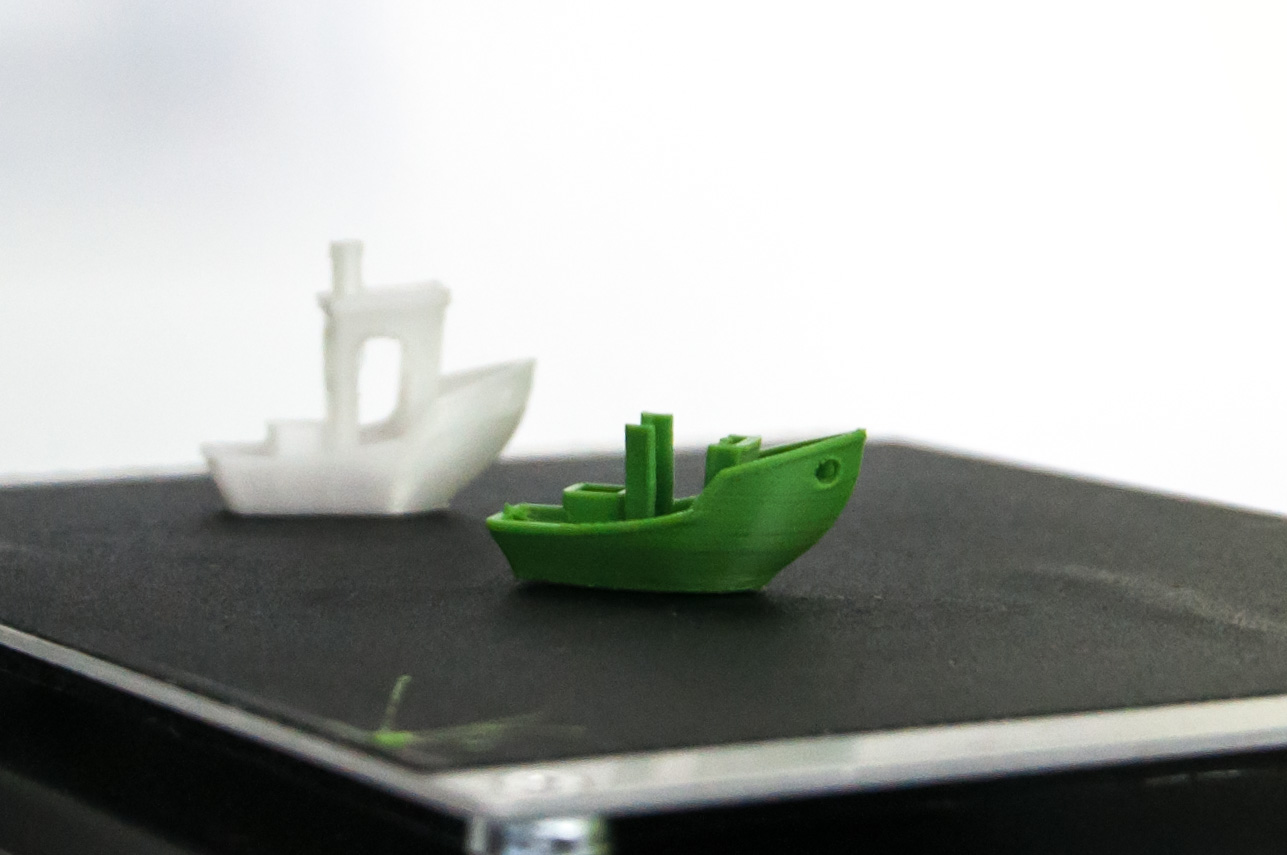
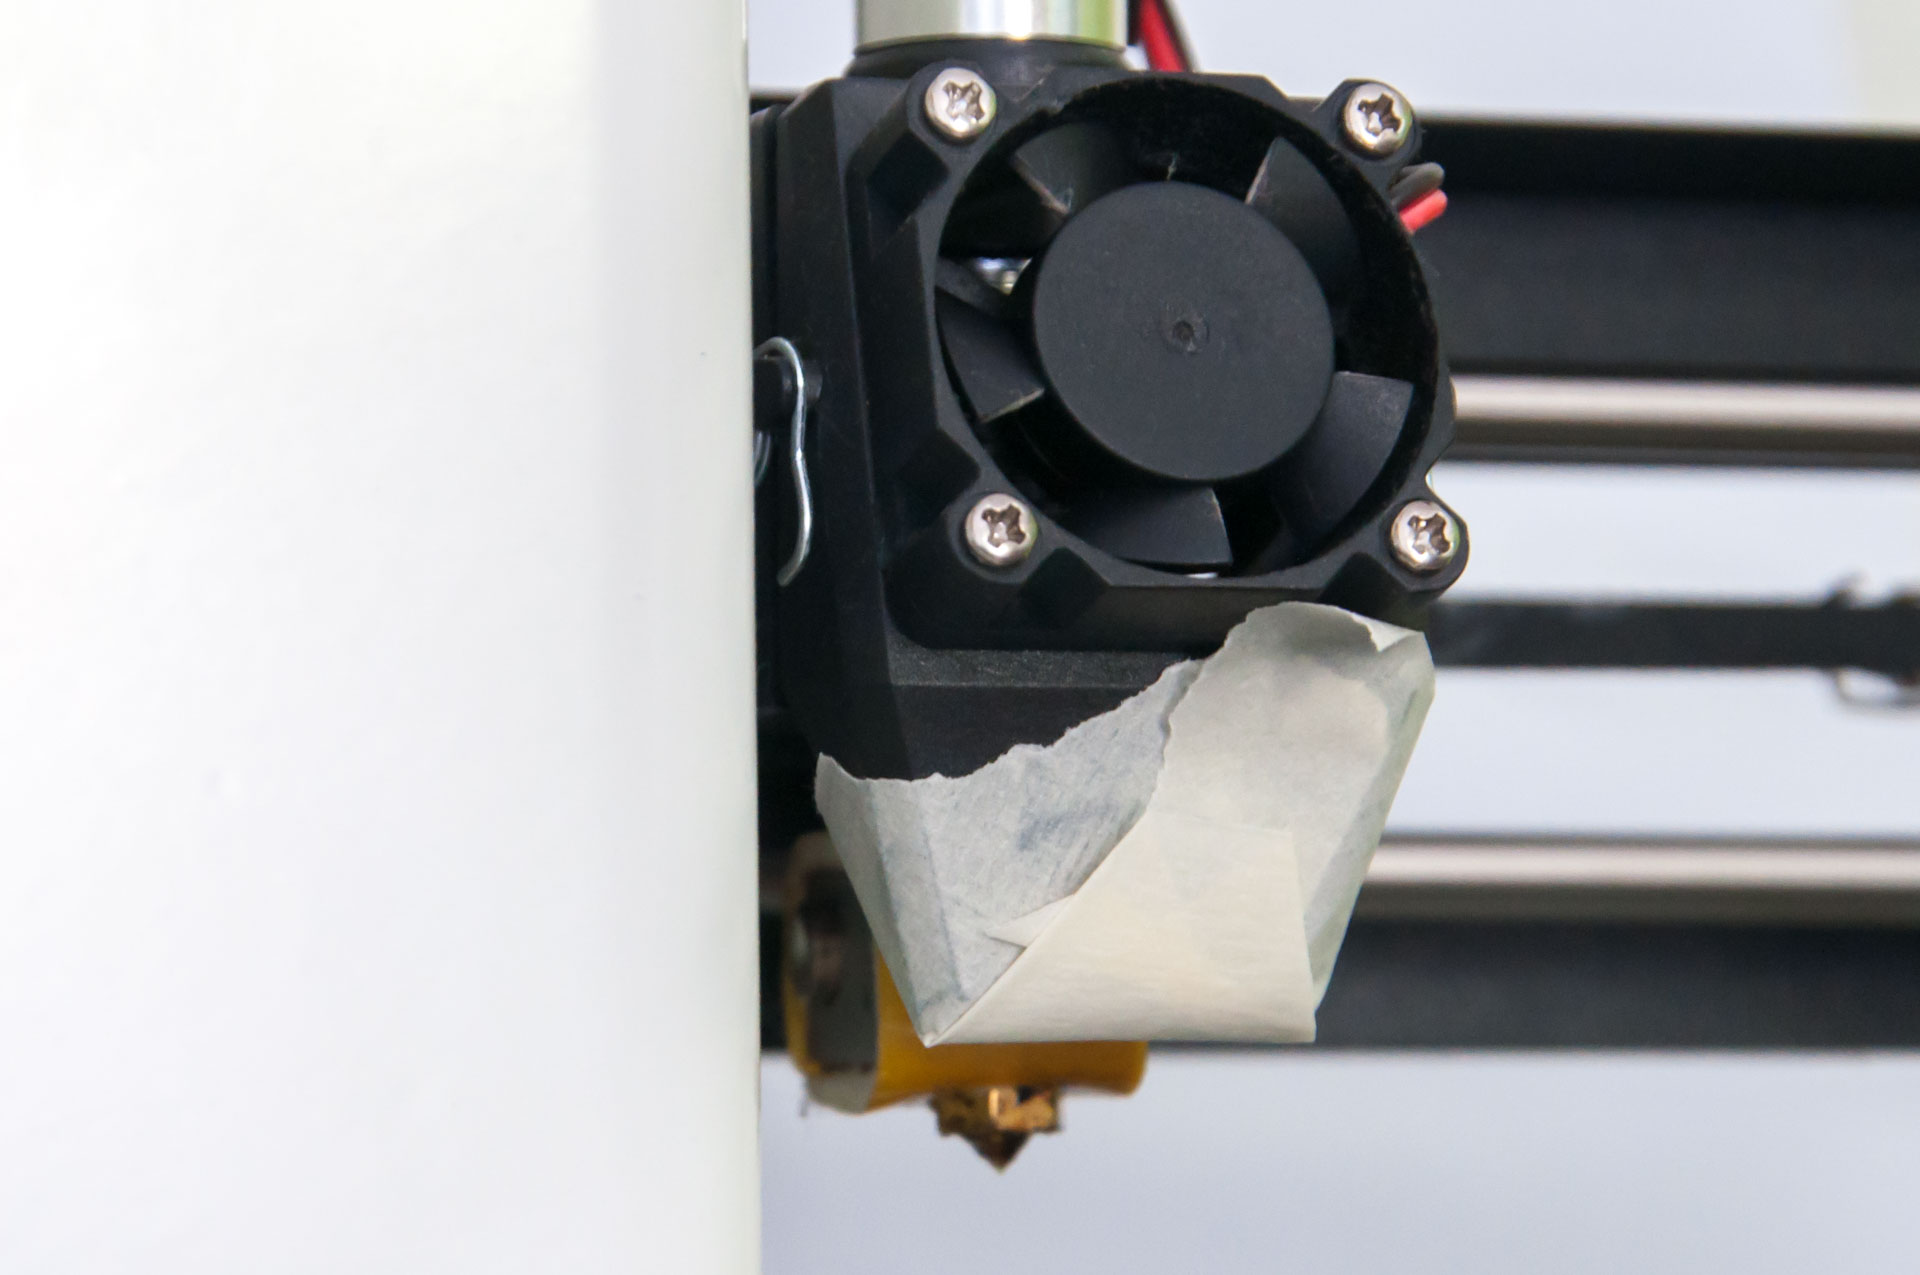
Benchy did great at first, and I was happy with the result, until the roof broke off when I touched it. I quickly learned I had to put tape on the head cooler, otherwise the extruded material would warp and/or harden too soon, and not stick on small surfaces, like the B pillar of Benchy.
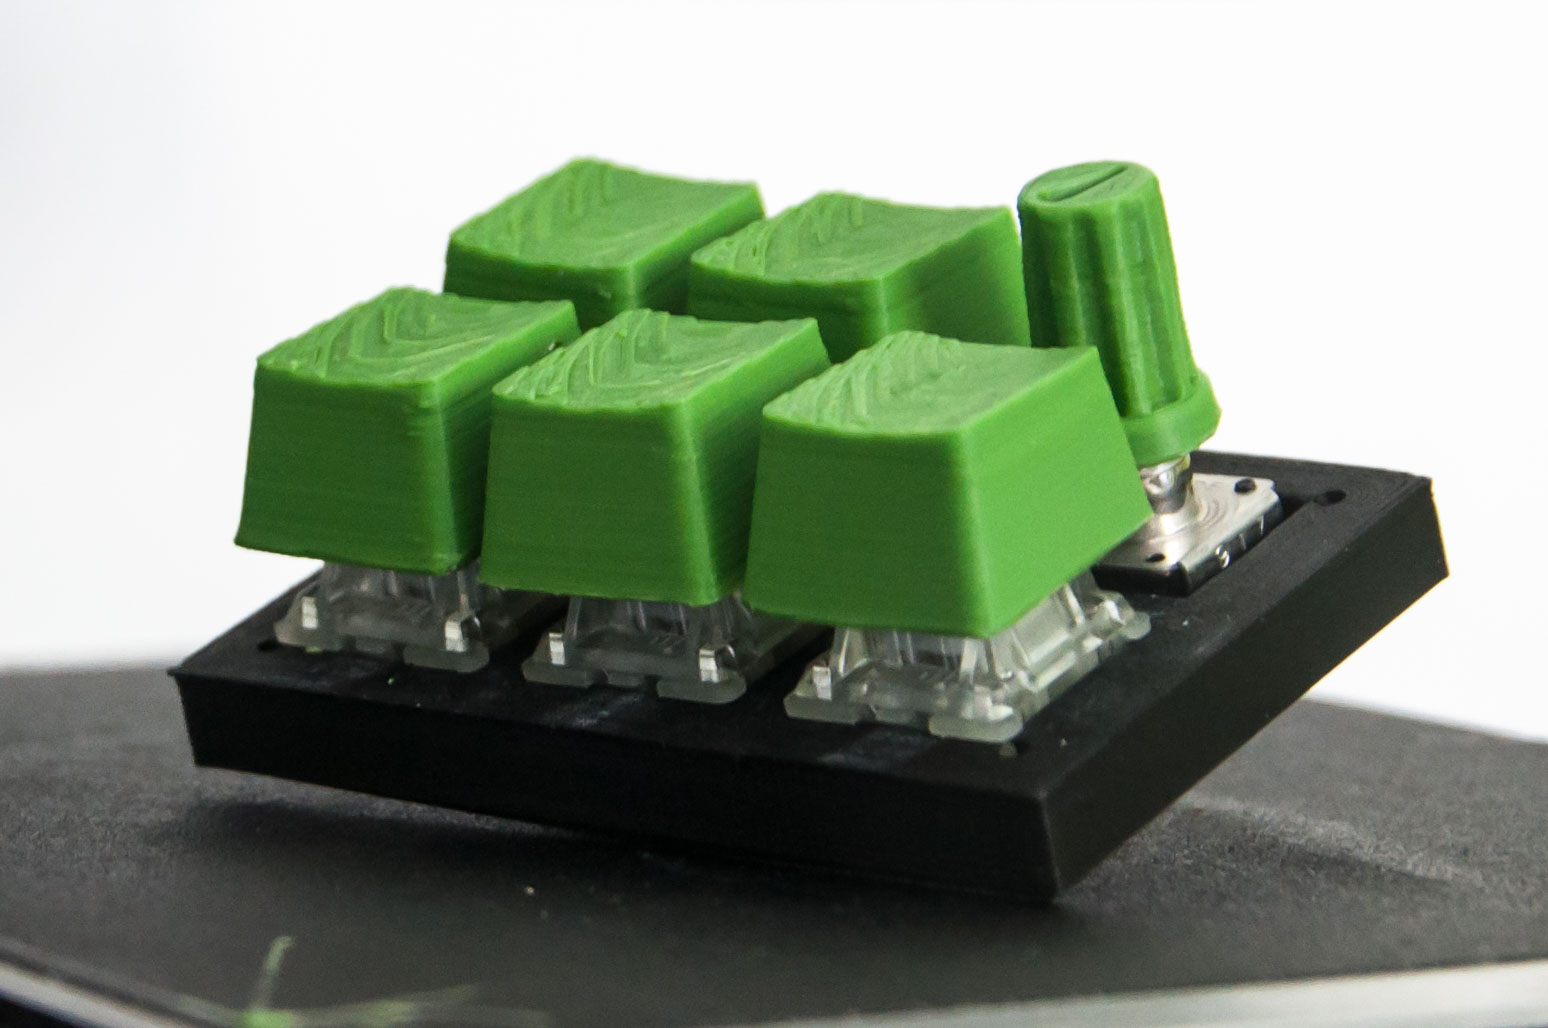
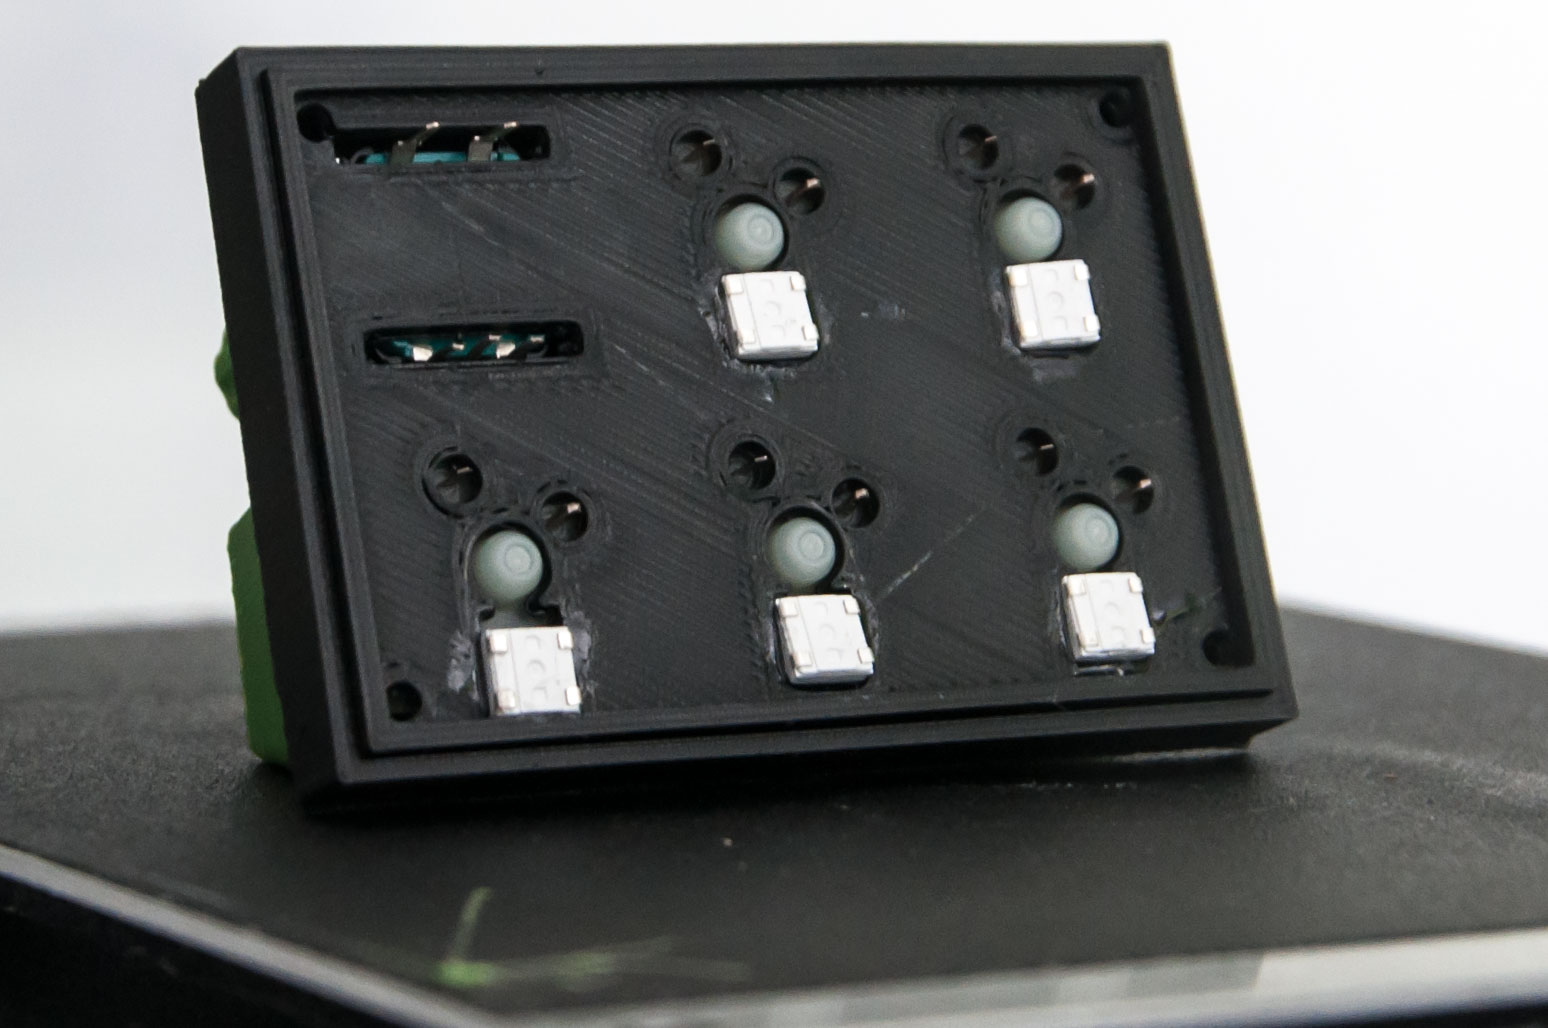
I managed to print some Cherry-style keycaps for my BDN9 inspired hand wired macro pad. There's some sk6812 backlights installed, as I intend to test a number of QMK features before I truly buy myself into the mechanical keyboard hobby. I've discovered one of my Arduinos is a micro one, with an Atmel processor, which is supported by QMK. I was happy to discover this, because I initially didn't think there was a simple/cheap way for me to test the flashing and configuring of QMK, but things I already have at home are cheap, so this is great!
The Cherry MX keycap .stl file I found on Thingiverse proved to be impossible to slice in a smooth way. There's some advances on this front to be read about from Hamburg, but no quick and easy way for me to try yet.
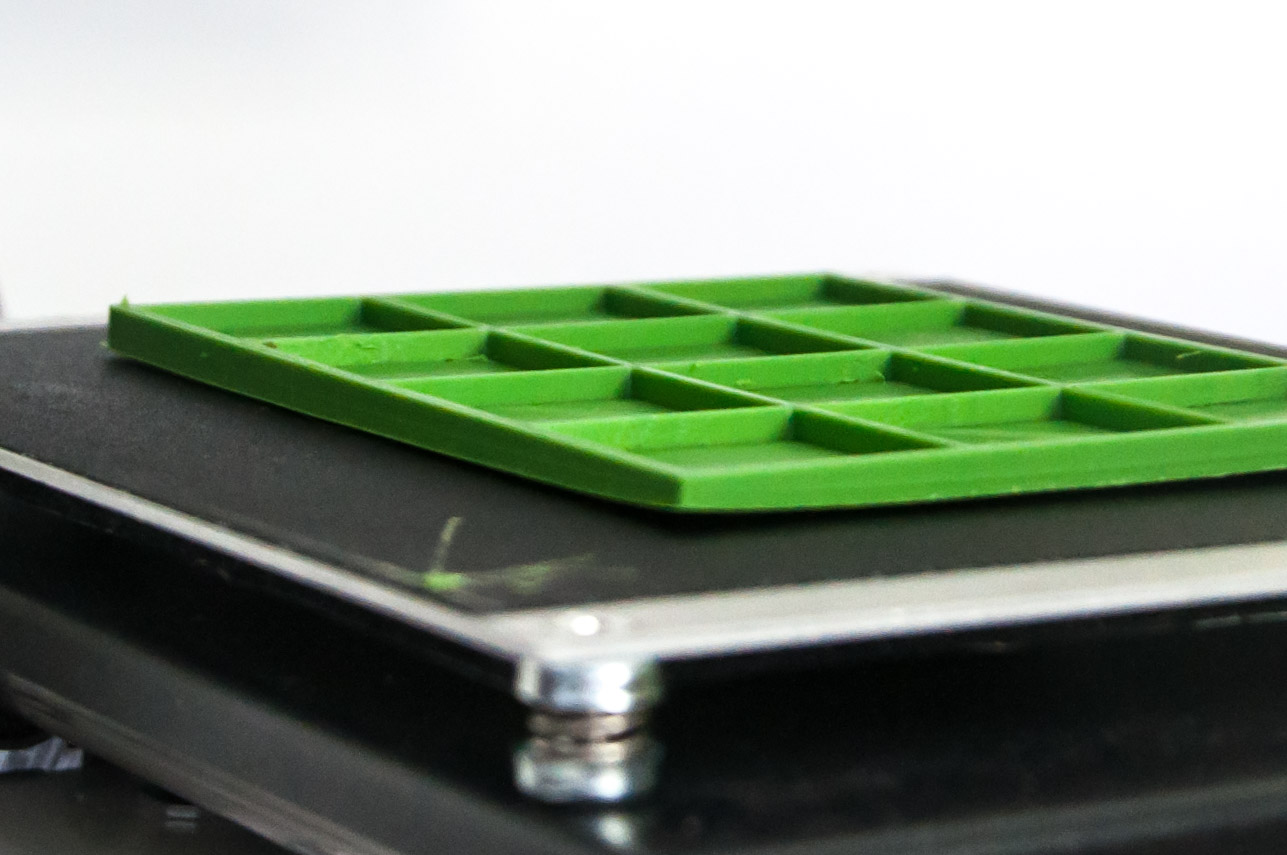
Sadly though, I failed four times on an smd tray. The first few layers seem to stick fine, but as the walls cool off, they introduce enough tension to tear up the corners later. Not sure how to go about this. I'm considering changing the geometry in a way where it's less affected by the warping of later layers, but now I miss the simplicity of PLA. PETG is said to unify advantages of both, but for now I will have to settle with being able to print smaller parts semi-reliably.
# Watch out for fumes
Not long after the discouraging results I've learnt that heated ABS generates toxic fumes at the nozzle. This is not as well advertised as I'd like it to be. Unfortunately, I don't have the room to put the printer in a well ventilated place, so I decided to sell my ABS spools, and stick to PLA for now. Interestingly, in just 2 days, a local guy bought it all, as he is using up 2 kilograms of filament a day to manufacture masks.